How to resize an image in GIMP
Scale photos in GIMP without stretching — plus a faster browser option when you skip the install
GIMP is the go-to free desktop editor when you need precise pixels, layers, or batch scripts. Resizing is one of the first skills worth learning: social uploads, shop listings, and email attachments all reject images that are the wrong size or weigh too much.
This guide walks through GIMP's Scale Image dialog — lock aspect ratio, pick interpolation, export cleanly — and points to VSPIC's browser resizer when you only need a quick downscale without installing anything.
What is GIMP?
GIMP (GNU Image Manipulation Program) is a free, open-source image editor for Windows, macOS, and Linux. Photographers, designers, students, and hobbyists use it for retouching, compositing, and preparing assets for the web. It is often called the free alternative to Photoshop — not identical, but capable for resize, crop, color work, and export.
GIMP saves projects as .xcf files and exports finished work as JPG, PNG, WebP, and other formats. You install it once (~200 MB) and work offline. For a single resize before uploading a form, a browser tool can be faster; for layered edits or batch folders, GIMP earns its place on your hard drive.
Why resize images?
Resizing changes how many pixels an image contains. Smaller dimensions usually mean smaller file sizes and faster loads. Common reasons people open GIMP's Scale Image dialog:
- Website optimization — hero images at 2000 px wide load slower than a 1200 px export.
- Social media — Instagram, LinkedIn, and YouTube each expect specific pixel boxes.
- Email attachments — shrinking a 6 MB phone photo avoids provider limits.
- Printing — set physical size at the right DPI before sending to a lab.
- E-commerce — consistent product dimensions keep grid layouts from jumping.
- Storage — archive projects at reasonable sizes without losing the master file.
How to resize an image in GIMP (step-by-step)
These steps apply to GIMP 2.10 and 3.x. Menu names stay under Image → Scale Image.
- Open Image in GIMP — Launch GIMP, then File → Open and pick your photo or graphic.
- Click Image → Scale Image — Shortcut Shift+S on many keyboards. This opens the resize dialog.
- Enter new width and height — Type pixels in the Width and Height fields (for example 1080×1080 for a square Instagram post).
- Lock aspect ratio — Keep the chain link icon closed so changing width auto-adjusts height. Open it only if you intentionally want to stretch.
- Choose interpolation — For photos you are shrinking, pick Lanczos (slow) or Cubic. For pixel art, use None (nearest neighbor).
- Apply changes — Click Scale. The canvas updates; zoom to 100% (View → Zoom → 1:1) to judge sharpness.
- Export the resized image — File → Export As, choose .jpg, .png, or .webp, set JPEG quality if prompted, then Export.
Resize by percentage
In the same Scale Image window, change the unit dropdown next to width from px to percent. Enter 50 to halve both dimensions — handy when you do not know the target pixels yet.
How to resize without losing quality
You cannot add detail that was never in the file, but you can avoid needless softness when downscaling:
- Keep aspect ratio locked unless distortion is intentional.
- Downscale from the largest original you have — never upscale a tiny thumbnail for print.
- Use Lanczos when reducing photo size; it preserves edges better than Linear.
- Avoid enlarging more than 10–20% beyond native pixels — results look mushy.
- Export once at final size; repeated save cycles on JPEG add artifacts.
- Use PNG for flat graphics with text; JPEG for photos without transparency.
How to reduce file size in GIMP
Dimensions and compression both affect KB. After scaling down, tune export:
JPEG quality
On export, GIMP asks for quality (0–100). For web photos, 85–92 is a practical range — visually clean with reasonable weight. Drop toward 75 only when a portal enforces a strict kilobyte cap.
PNG optimization
PNG preserves transparency but is heavier than JPEG. Flatten layers before export if you do not need alpha. For UI screenshots, PNG is fine; for camera photos, JPEG is usually smaller.
WebP export
GIMP 2.10+ can export WebP — often smaller than JPEG at similar visual quality. Choose it when your CMS or app accepts .webp. If not, export JPEG and use VSPIC's WebP converter at vspic.com/convert-from-webp.
Resize for specific platforms
Platforms change specs occasionally — verify in each app's upload screen. These sizes work as of 2026 for planning exports in GIMP:
| Platform | Recommended size (px) |
|---|---|
| Instagram Post (square) | 1080 × 1080 |
| Instagram Story / Reels cover | 1080 × 1920 |
| Facebook Post | 1200 × 630 |
| Facebook Cover | 820 × 312 |
| YouTube Thumbnail | 1280 × 720 |
| LinkedIn Post | 1200 × 627 |
| X / Twitter Post | 1600 × 900 |
| Pinterest Pin | 1000 × 1500 |
Type these numbers directly into Scale Image. If your photo is not the same shape, crop first (Image → Canvas Size or the Crop tool), then scale.
Batch resize images in GIMP
GIMP's core app resizes one file at a time. For folders of images, install the BIMP plugin (Batch Image Manipulation Plugin). It adds File → Batch Image Manipulation and lets you chain Scale, Crop, and Export steps across dozens of files.
- Install BIMP from the official GIMP plugin registry for your OS.
- Open Batch Image Manipulation and add images or a folder.
- Add a Scale action with target width or height (lock ratio in the action settings).
- Add an Export action with format and naming pattern.
- Run the batch and check output in a test folder before overwriting originals.
No time for plugins? Resize a handful of files one-by-one in VSPIC's browser tool — still faster than configuring BIMP for three holiday photos.
Common GIMP resizing mistakes
- Stretching — chain icon off, then typing different width/height ratios. Faces look wide; logos look wrong.
- Upscaling small logos — a 200 px icon blown to 2000 px will blur no matter the interpolation.
- Wrong interpolation on pixel art — Lanczos softens crisp pixels; use None for sprites.
- Exporting at quality 60 then re-opening and exporting again — JPEG generation loss stacks.
- Saving as .xcf for the web — browsers need JPG/PNG/WebP, not project files.
- Ignoring color profile — photos for print may need explicit ICC; web usually sRGB.
GIMP resize vs crop
| Resize (Scale Image) | Crop |
|---|---|
| Changes pixel dimensions of the whole image | Cuts away outer areas |
| Keeps entire frame, scales content | Removes pixels permanently |
| Use when proportions are fine but size is wrong | Use when framing is wrong (too much sky, wrong aspect) |
| Aspect lock prevents stretch | Set a fixed ratio (1:1, 16:9) in the crop tool |
| Image → Scale Image | Crop tool or Image → Canvas Size |
GIMP vs Photoshop for resizing
| GIMP | Adobe Photoshop |
|---|---|
| Free and open source | Paid subscription |
| Image → Scale Image | Image → Image Size |
| Lanczos, Cubic, None interpolation | Automatic + bicubic options |
| BIMP for batch | Actions and scripts for batch |
| Fine for web and hobby print | Industry standard for pro studios |
| Steeper learning curve on some tools | Familiar to many agencies |
Best export settings for web images
JPEG (photos)
Scale to target width first (often 1200–1920 px for content images). Export at quality 85–92, progressive optional, strip metadata if privacy matters.
PNG (graphics, transparency)
Use for logos, screenshots with text, and UI assets. Expect larger files — pair with compression tools if KB limits bite.
WebP (modern sites)
Export WebP from GIMP when supported, or convert after export. Good balance of size and quality for hero images.
Best practices for GIMP resizing
- Work from the highest-resolution original you own — never upscale a thumbnail for print.
- Scale once at final dimensions; avoid resize → export → reopen → resize loops on JPEG.
- Name exports with pixel size in the filename (hero-1200w.jpg) so CMS uploads stay traceable.
- Match platform aspect ratio with crop before scale when the spec is fixed (1:1, 16:9).
- Keep masters as .xcf or lossless PNG; publish web copies as JPEG or WebP.
- Preview at 100% zoom after scaling — thumbnails lie about sharpness.
Common use cases
Real-world examples where GIMP Scale Image earns its keep:
- Blog hero — downscale a 6000 px camera export to 1200 px wide for faster LCP scores.
- Shop listing — square 1080×1080 product shots for marketplace grids.
- Resume headshot — 400×400 px JPEG under 100 KB after scale + compress.
- Slide deck — export speaker photos at 800 px wide so PowerPoint stays lightweight.
- Newsletter banner — 600 px wide fits most email clients without horizontal scroll.
- Icon prep — scale UI assets to 64 px or 128 px with None interpolation for crisp pixels.
Expert tips
- Always duplicate the layer or save a copy before destructive scale on a master file.
- Check Image → Image Properties for true pixel dimensions before you start.
- For retina displays, you may export 2× pixel width and let CSS scale down — but only when the CMS expects it.
- Sharpen lightly after downscale (Filters → Enhance → Sharpen) if edges look soft — subtle only.
- Batch rename exports with date + dimension in the filename so you know which version went live.
- When a portal lists max width only, scale to that width exactly — do not guess smaller unless KB limits force it.
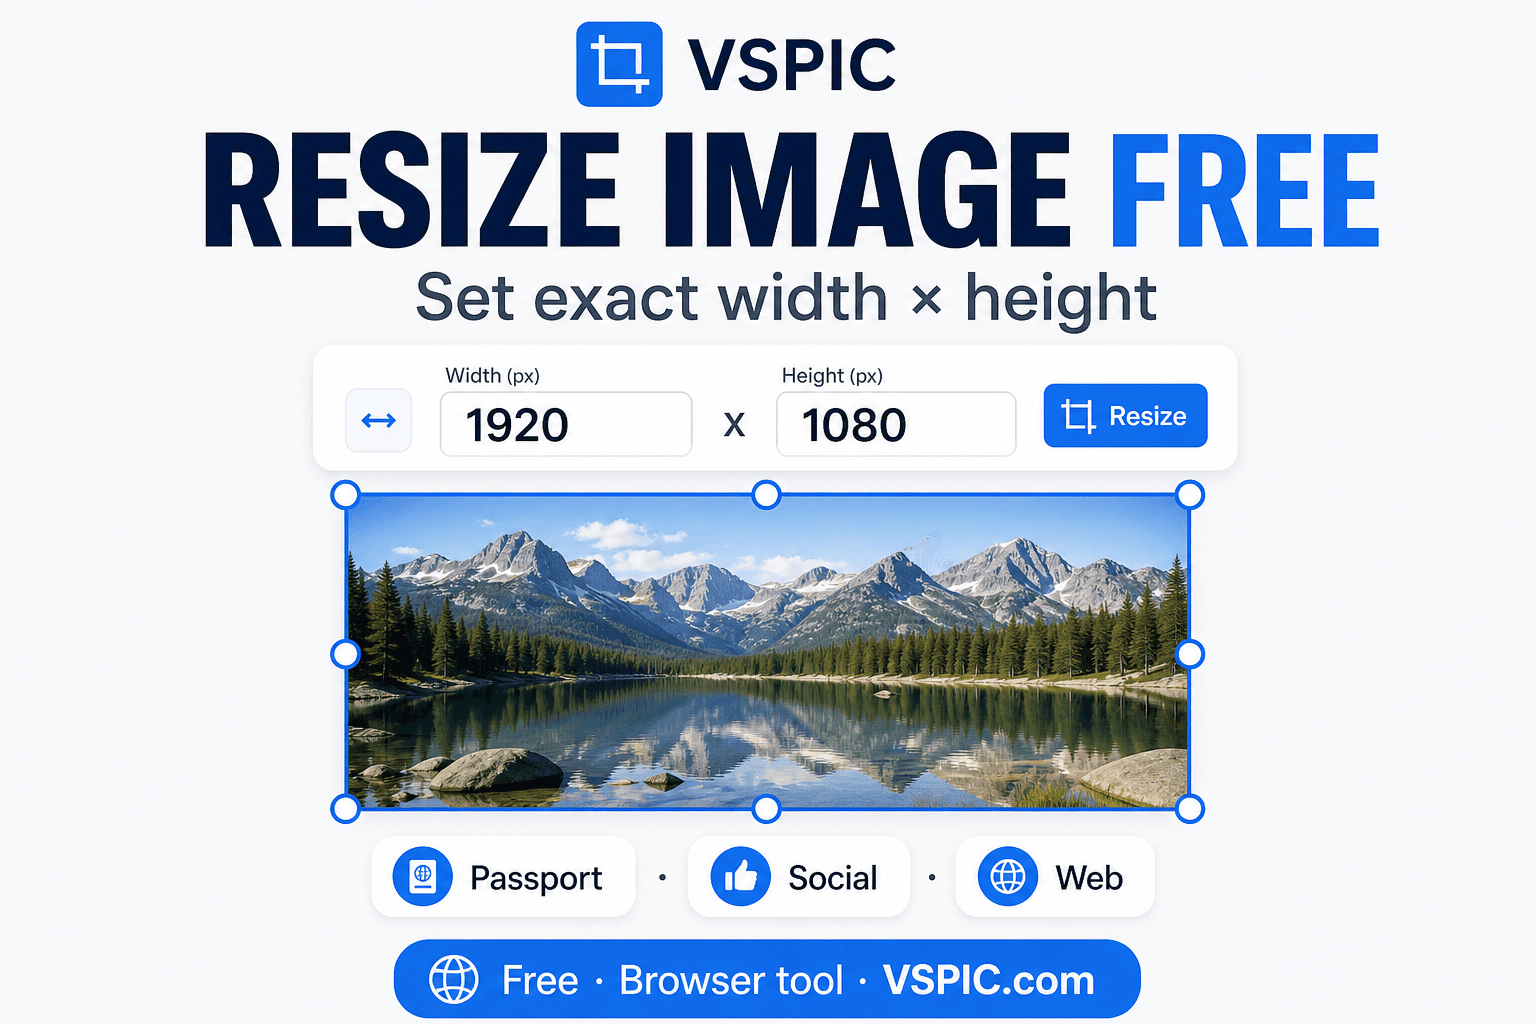
Faster option: resize in the browser
When you only need new pixels and a download — no layers, no batch — VSPIC Resize Image runs locally in your browser. Upload, set width and height, lock aspect ratio, download. No GIMP install, no account.
Free, local processing — good for one-off social sizes and form uploads.
Resize an image in your browserRelated VSPIC tools
After resizing in GIMP or the browser, these free tools often finish the job — same site, no account:
- Image Resizer — quick pixel resize when GIMP is not installed.
- Compress Image — shrink KB when the portal caps file size, not dimensions.
- Crop Image — fix framing and aspect ratio before you scale to platform specs.
- PNG to JPG — smaller uploads when transparency is not needed.
- JPG to PNG — lossless round-trip when you need alpha after export.
- WebP converter — modern format when your CMS or CDN expects .webp.
Skip GIMP for a one-off resize — set pixels in the browser and download.
Open Image ResizerWrong aspect ratio for Instagram or YouTube? Crop to the platform box first.
Crop before you scaleHit a 50 KB or 200 KB upload limit? Compress after you resize.
Compress an imagePhoto exports too heavy? Switch to JPEG when you do not need transparency.
Convert PNG to JPGNeed a lossless copy or transparency after GIMP export? Convert format in the browser.
Convert JPG to PNGExport WebP from GIMP or convert an existing file for modern web delivery.
WebP converterTroubleshooting
Why does my image look blurry after resizing?
Usually you upscaled too far, used weak interpolation on a photo, or exported JPEG at very low quality. Downscale from a larger source and try Lanczos.
Why is image quality reduced?
JPEG is lossy. Each export throws away data. Scale once, export once at appropriate quality. Avoid re-saving the same JPEG repeatedly.
Why is file size still large?
Dimensions may still be high, or you exported PNG for a photo. Scale smaller, switch to JPEG, or lower quality slightly. Use Compress Image for a second pass.
Why are dimensions not changing?
You may have scaled a layer but not the canvas, or you are viewing Image Properties of the .xcf while exporting an old cached export. Confirm Image → Scale Image applied to the image, then Export As a new filename.
Conclusion
GIMP's Scale Image dialog is the reliable way to resize image in GIMP with control over pixels, ratio, and interpolation. Lock aspect ratio, pick Lanczos for photos, export with sensible JPEG or WebP settings, and keep your original archived.
For quick jobs, the browser resizer on VSPIC gets you the same pixel targets without opening a desktop app. Use GIMP when the project is complex; use the browser when speed matters.
GIMP is a trademark of the GIMP team. This guide is independent and not affiliated with GIMP or Adobe.
Common questions, direct answers
How do I resize an image in GIMP?
Open the image, go to Image → Scale Image, enter width and height in pixels, keep the chain icon locked for aspect ratio, choose Lanczos for photos, click Scale, then File → Export As to save JPG or PNG.
Can I resize images without losing quality?
Downscaling from a high-resolution original with Lanczos interpolation and locked aspect ratio keeps photos sharp. Avoid large upscales — GIMP cannot invent missing detail.
What is the difference between resize and scale in GIMP?
In GIMP they mean the same thing — Image → Scale Image changes pixel dimensions. Crop is different: it removes edges without scaling the whole canvas.
How do I reduce image file size in GIMP?
Scale to smaller pixel dimensions first, then export JPEG at 85–92 quality, or WebP for smaller web files. PNG is larger but needed for transparency.
Does GIMP support batch resizing?
Not natively. Install the BIMP plugin for batch scale and export. For a few files, manual scale or a browser resizer is often quicker.
What interpolation should I use?
Lanczos for shrinking photos. Cubic is acceptable general use. None (nearest neighbor) for pixel art. Avoid None on photographs — it looks blocky.
Can I enlarge an image in GIMP?
Yes, but modest enlargement only. Going from 400 px to 4000 px will look soft. Start from the largest source file you have.
How do I resize for Instagram?
Image → Scale Image → 1080×1080 for square posts or 1080×1920 for stories. Crop first if your photo is not the right shape.
How do I resize for YouTube thumbnails?
Scale to 1280×720 pixels, export JPEG at high quality, keep text away from edges where mobile crops.
What is the best export format?
JPEG for photos, PNG for graphics with transparency, WebP when your site supports it for smaller files.
Why is my image blurry after resizing?
Common causes: upscaling too much, low JPEG quality on export, or using the wrong interpolation. Downscale with Lanczos from a sharp original.
Can GIMP resize PNG files?
Yes. Open PNG, scale, export PNG to keep transparency or export JPEG if you do not need alpha.
How do I maintain aspect ratio?
Keep the chain link icon closed in the Scale Image dialog. Changing width auto-updates height proportionally.
Is GIMP free?
Yes. GIMP is free open-source software on Windows, Mac, and Linux.
Is GIMP better than Photoshop for basic resizing?
For a single resize, both work. GIMP is free; Photoshop is faster if you already subscribe. For quick browser resizes without either app, use VSPIC Resize Image.
What is the fastest way to resize without installing GIMP?
Use VSPIC Resize Image in your browser — set pixels, lock ratio, download. Processing stays on your device.
Safe in our hands
VSPIC takes security seriously. Remember that…
- Free tools run in your browser when possible — your files and queries are not stored longer than needed to complete your request.
- No account is required. Use any tool immediately without sharing an email address.
- We use HTTPS on every page so data in transit is encrypted between your device and our servers.
- We only process what is needed to complete your request and do not sell your data or personal information.
Guides are written by the VSPIC Editorial Team under our editorial policy.
Open the free tool, use Resize Image, and get results in seconds.
Try Resize Image now